
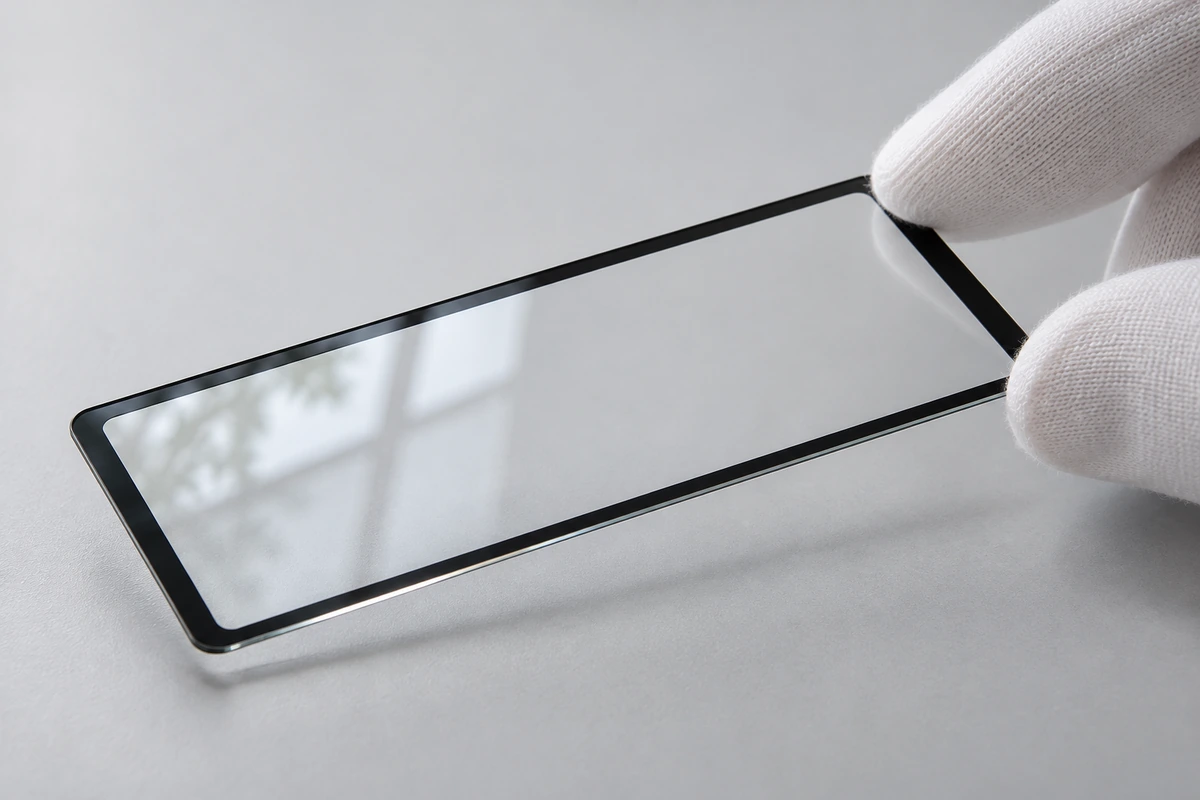
Getting there isn't complicated, but it does involve a series of decisions, and each one affects cost and lead time. This guide walks through them in the order they usually come up, explains what happens during sampling, and shows where the money goes.
Start With How the Product Will Be Used
Every later decision follows from a few plain questions:
- Where will it live? Indoors, outdoors, in a car, in a kitchen?
- Will it be handheld and dropped, or mounted on a wall?
- Will people touch it all day, or just look at it?
- Does it face bright light or sunlight?
The answers point to the glass type and thickness. A handheld device usually wants thin, chemically strengthened aluminosilicate glass. A wall-mounted control panel may do fine with chemically strengthened soda-lime. An outdoor kiosk usually wants thicker tempered glass. Our guide to [glass grades by application] covers this in more detail.
Common cover glass thicknesses run from about 0.55 mm to 4 mm (0.02–0.16 in). Thinner glass saves weight and space; thicker glass survives knocks better.
Shape, Holes and Edges
Next comes the outline: the size, corner radii, and any holes or cutouts for cameras, speakers, sensors or buttons. Most cover glass is cut and shaped on CNC machines, so almost any flat outline is possible.
Edges matter more than they first appear. A small chamfer or a rounded 2.5D edge feels better in the hand and chips less easily than a sharp-cut edge. Our article on [common edge types] explains the options.
If the glass has to fit tightly into a housing, agree on tolerances early. A shape that's slightly too big won't seat, and one that's slightly too small leaves an uneven gap. See [cover glass tolerances] for how that works in practice.
Strengthening
Almost all display cover glass is strengthened, in one of two ways:
- Chemical strengthening, in a hot salt bath, is used for thinner glass, usually under about 3 mm. It's the standard for touch screens and handheld devices.
- Thermal tempering, heating and then cooling quickly with air, is used for thicker glass, 3 mm and up. It's common on appliances and kiosks.
The choice mostly follows from thickness. All cutting, drilling and edge work has to happen before strengthening, so the shape is fixed before this step. Our comparison of [chemically strengthened vs tempered glass] goes deeper.
Printing: Border, Logo and Windows
Printing is usually what makes a cover glass look like part of the product. Typical elements:
- A black or colored border that hides the display edges and wiring
- A logo, icons or button symbols
- Clear windows for cameras or sensors
- IR windows that look black but let infrared sensors see through
Each color is printed separately, through its own screen. So a design with a black border, a white logo and a gray icon needs three screens and three print passes. More colors add setup cost and time, so it's worth keeping the color count to what the design really needs.
For thin, chemically strengthened glass, printing normally uses organic inks cured at low temperature. Thicker tempered glass can use ceramic ink, which fuses into the glass during tempering. See [ceramic ink printing] for when each makes sense.
Surface Coatings
The last layer of decisions is what goes on the front surface:
- Anti-glare (AG) to soften reflections from lights and windows
- Anti-reflective (AR) to cut reflections for bright light or outdoor use
- Anti-fingerprint (AF) to make smudges easy to wipe off
Each coating adds cost and a processing step, so choose based on where the screen will be used. Our guides on [AR vs AG glass] and [anti-glare glass parameters] cover the trade-offs.
What Happens During Sampling
With the design settled, the supplier makes samples. This is often where first-time buyers are surprised by the price per piece. Here's what's behind it:
- One-off tooling. CNC fixtures have to be made to hold your exact shape for edge grinding and drilling. Every print color needs its own screen and film. Coatings need their processes adjusted. These costs exist whether you order ten pieces or ten thousand.
- Setup time. One glass manufacturer notes that setting up a machine for a complex part can take half a day, while running each piece may take only about 10 minutes.
- Strengthening batches. Chemical strengthening takes about 5 to 8 hours per batch, and different products can't share a batch. A small sample order still occupies a whole furnace run.
- Extra glass. Suppliers typically start with more glass than needed, sometimes about double, so enough good parts come out at the end.
That's why sample pieces cost far more than production pieces, and why many suppliers quote a separate sampling or tooling charge. Once the tooling exists, repeat orders don't pay for it again.
As for timing, sample lead times vary with complexity. One display maker quotes about twelve working days for custom cover lens samples.
Checking the Samples
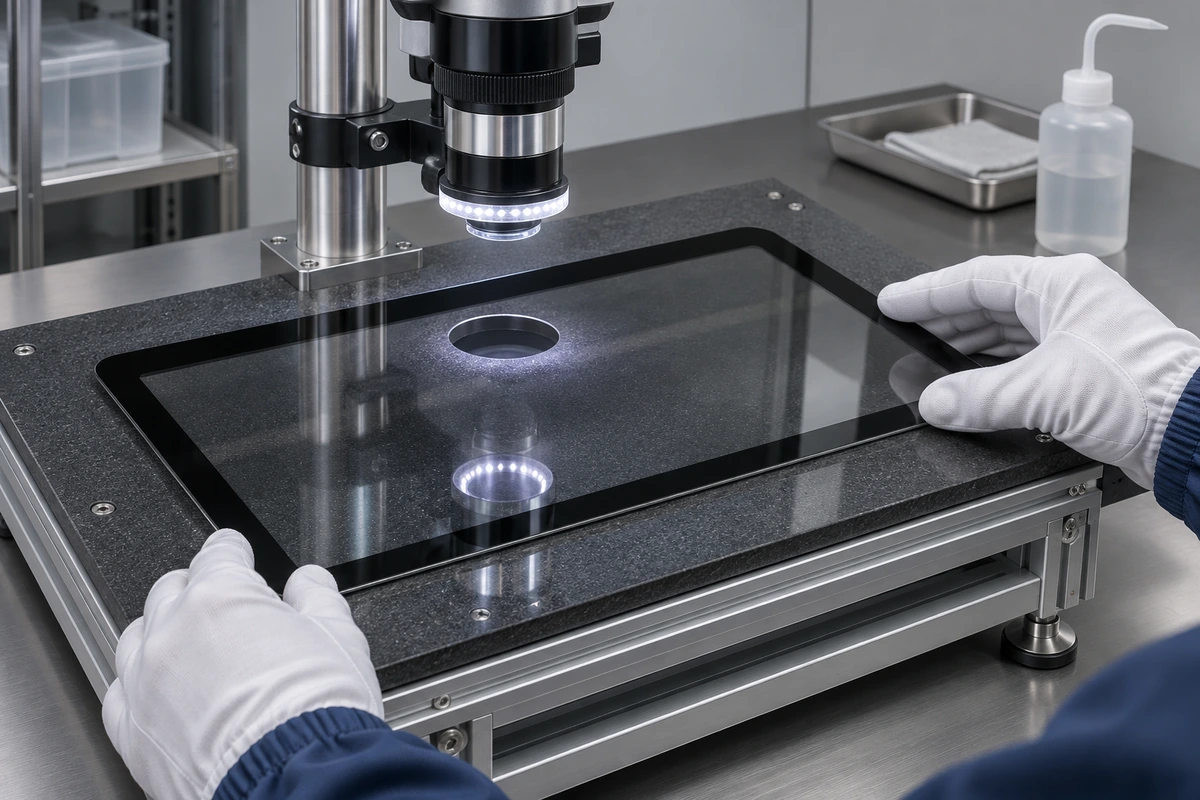
When samples arrive, check them in the setting where they'll actually be used, not just on a desk:
- Fit. Does the glass seat properly in the housing, with even gaps?
- Look. On the actual display, is the border even? Do colors match the reference? Do icons line up?
- Touch. Does the touch screen respond properly through the glass, including at the edges?
- Coatings. Is the anti-glare level right for the lighting? Do fingerprints wipe off easily?
- Strength. Ask the supplier for strengthening data, such as surface compression readings for chemically strengthened glass. A simple ball-drop test on a few samples is also worth doing.
It's normal to need one revision round, for example to adjust a border width or a print color. Changing the outline or holes usually means new fixtures, so try to settle the shape first.
Moving to Production
Once samples are approved, production is mostly about consistency. A few things worth agreeing on before the first order:
- Which sample is the "golden sample" that production parts are compared against
- How cosmetic defects such as scratches, chips and print flaws will be judged
- What inspection data comes with each batch
- How parts are packed. Cover glass usually ships with protective film on both sides, which keeps printed and coated surfaces clean during assembly.
In production, price per piece depends mainly on:
- Glass type and size
- Thickness
- Shape complexity and number of holes
- Edge finish
- Number of print colors
- Coatings
- How tight the tolerances are
- Order quantity
The Decisions, in Order
- How and where the product will be used
- Glass type and thickness
- Outline, holes and edges
- Strengthening method
- Printing: border, logo, windows, colors
- Surface coatings
- Samples, checked in the real product
- Golden sample and inspection rules for production
If you have a display and a rough idea of the cover glass you need, send us a photo, sketch or CAD file, along with how the product will be used, and we'll help you work through these steps.